

Route Options From Harare to Great Zimbabwe
Great Zimbabwe is roughly a half-day drive from Harare, depending on traffic and road conditions. Most people aim for an early start so you can explore in the cooler morning hours and still return before dark.
You have a few workable transport choices:
- Private car with a driver: Most comfortable for a same-day trip. You can leave early, stop for fuel, and keep your return schedule flexible if weather turns.
- Rental car (self-drive): Gives you control, but you’ll want to be confident with long-distance driving and roadside navigation. Stick to daylight driving and keep extra fuel in mind.
- Public transport via Masvingo, then local rides: Often cheaper, but less predictable for a strict one-day plan. You may spend extra time coordinating connections.
If you’re travelling in a smaller group and want minimal hassle, a private driver is usually the easiest way to protect your schedule.
Buying Entry and Settling In at the Gate
On the day, entry is handled through the visitor reception at the site. In practice, that usually means you buy your ticket on arrival rather than paying online in advance.
To make your start smooth:
- Bring cash in small notes for the ticket desk and any on-site extras.
- Arrive with buffer so you’re not rushing through entry during the hottest part of the day.
- Ask what’s included when you buy your ticket (some sites include access to specific walking areas, and requirements can vary by season).
If you prefer a “no surprises” approach, call or ask in person at a local museum or information point in Harare the day before to confirm what you’ll need for entry (especially if you’re travelling with students or making group arrangements).
How to Explore the Site on Your Own
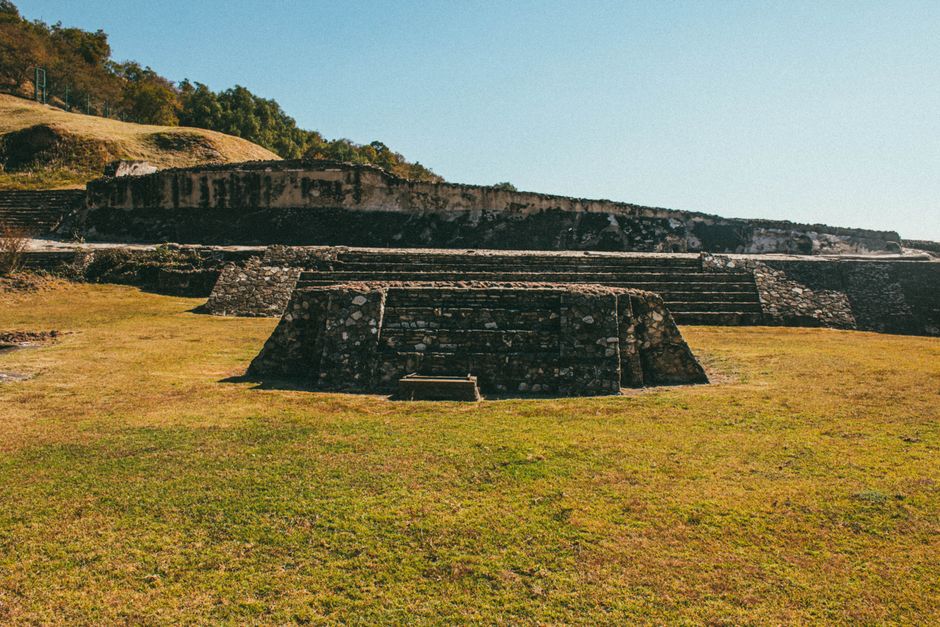
Great Zimbabwe is spread across distinct sections and terraces. The best guided-free strategy is to move at a steady pace, focus on the big enclosing walls and terraces first, and leave time for viewpoints and quieter paths.
A good self-guided flow is to target these areas in sequence:
- The Great Enclosure (main wall area): Start here to orient yourself—once you understand the primary boundary, the rest of the layout makes more sense.
- The Hill complex and terraces: Walk the main paths carefully; some sections are steeper and can feel slippery after rain.
- The viewpoints and open courtyards: Take slow pauses here for photos and to understand how the site sits in the landscape.
- The lower-lying structures and walking routes: Finish with the broader, less dramatic sections so you’re not left rushing as the day heats up.
Even when you’re exploring independently, it’s smart to speak to a staff member or ranger at the start. You don’t need a full guided tour—just confirm where you can walk, which paths are best for beginners, and how long they recommend before you should head back.
Practical pacing tip: aim for short breaks rather than one long stop. In mid-day heat, even a 10–15 minute rest in shade can make the difference between a comfortable day and a miserable one.
Timing a Stress-Free Day Trip (Guided-Free)
Your timing determines how much you’ll enjoy the ruins. A guided-free plan works best when you arrive early, explore in big blocks, and don’t try to cram everything.
A sensible target schedule looks like this:
- Leave Harare early (around sunrise or shortly after) to reduce heat and help your driver beat traffic.
- Arrive at Great Zimbabwe mid-morning so you can move calmly through the main sections.
- Plan about 3–4 hours on site, depending on your pace and how much you read at stopping points.
- Start the return before late afternoon to avoid being stuck in the hottest period on the road.
If you’re travelling in a busier season, you’ll want extra time for entry queues and people moving between sections. In those months, adding 30–60 minutes to your on-site window prevents you from cutting your exploration short.
Also consider this reality check: a day trip is doable, but it’s not the moment for a relaxed, long lunch and unhurried wandering for six hours. Treat it like a focused visit.
Heat and Weather Buffer Plan
Zimbabwe can swing from hot and dry to humid and rainy, and the ruins are outdoors—so your “plan B” matters.
A practical heat-and-weather buffer plan:
- Build in slack of at least 1–2 hours to cover delays at the gate, unexpected slow driving, and weather changes.
- Time your hardest walking for the morning. If you can’t comfortably pace your route, reduce distance rather than pushing through.
- Have a weather retreat option: If thunderstorms roll in, pause movement and wait out the worst conditions in the closest sheltered visitor area rather than trying to sprint the last section.
What to watch for:
- In hot, sunny periods, start earlier than you think you need to—late morning can feel much warmer on exposed paths.
- In rainy-season afternoons, surfaces can become slippery and visibility can drop quickly.
If you’re using a rental car or private vehicle, keep your return plan flexible. The safest approach is to be ready to shorten the visit if the forecast worsens, rather than forcing a full route in unpleasant conditions.
What to Do Next
Before you go, choose your transport option based on how much schedule control you want—private driver for easiest timing, self-drive only if you’re comfortable with long daylight drives. Then confirm entry logistics by checking locally the day before, and plan to arrive early with at least a 1–2 hour buffer for weather.
Once you’ve sorted transport and a realistic on-site window, pack for sun and rain and keep your return departure flexible so you don’t have to rush through the ruins.