

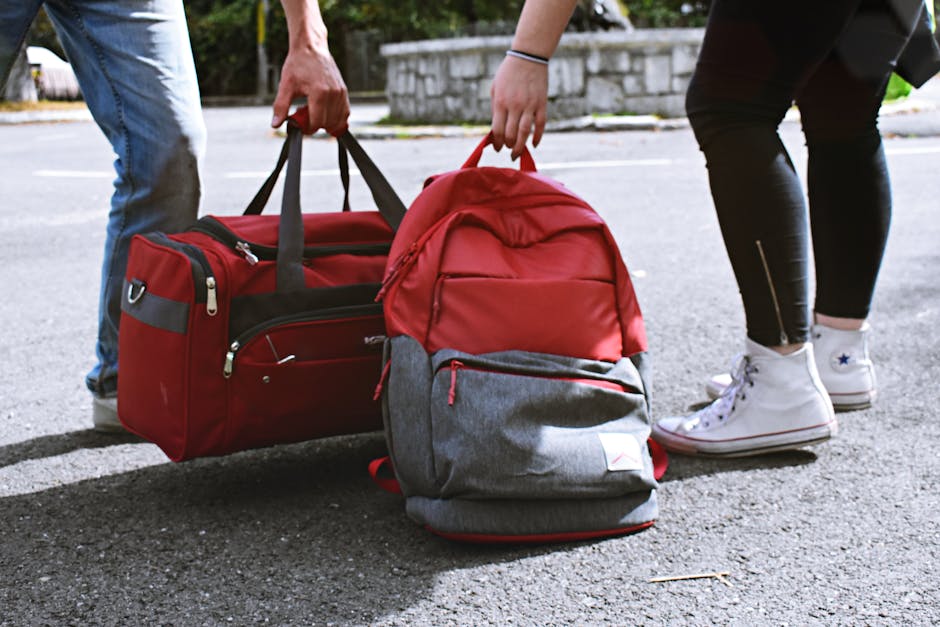
If you’re travelling carry-on only, the deciding factor is usually not the backpack’s listed volume in litres. It’s whether the bag’s external shape fits the airline’s carry-on sizer—especially when the backpack is packed and sitting with straps and side pockets.
Below is a practical way to choose, measure, and load a travel backpack so it meets typical carry-on limits, feels stable on your body, and avoids last-minute gate-agent squeezes.
Carry-On Limits That Matter for Backpacks
Backpacks rarely fail for one “mystery” reason. Most problems come from confusion between volume and the dimensions airlines check.
Dimensions beat litres (in real life)
Most airlines publish a carry-on size allowance using three dimensions: length/height, width, and depth (often shown as L x W x D, like 55 x 35 x 25 cm—varies by airline). Backpacks list capacity in litres, which can stay impressive even when the bag’s depth or “bulge” pushes you past the sizer.
Airlines may care about the “packed” shape
Even when a backpack has a flexible frame, side pockets and compression straps can change how wide or deep it looks once it’s full. A backpack that looks fine on a flat floor can fail when:
- it’s overstuffed to maximise litres
- the hip belt sits away from the body
- the shoulder straps stick out or the top panel doesn’t compress
Weight rules can be the second limiter
Many airlines also have carry-on weight limits (often in the ballpark of 7–10 kg, depending on the airline and ticket). A bag that fits the sizer but is too heavy can still get pushed into a checked bag.
How to Measure Your Backpack Like an Airline Sizer
A real sizer is usually a rigid metal or plastic frame, and it’s not interested in “but the bag’s expandable section says it fits.” The goal is to measure your backpack in a way that matches what gets tested.
Start with the published allowance you’re travelling with
Before shopping, confirm the limits for the specific airline and route. If your itinerary includes multiple airlines, treat the tightest posted allowance as the rule.
Measure externally, not just “main compartment” capacity
Airline sizers check the backpack’s outside footprint. That means measuring includes the parts that can expand the bag’s outline: side pockets, stiffeners, grab handles, and any external straps.
Use these sizer-focused checks
Do these checks on the backpack (ideally when packed for your trip), because a carry-on-only bag is only “carry-on friendly” at travel load—not empty on a shelf:
- Check height/length at the tallest point (often the back panel plus anything above the main opening).
- Check width at the widest bulge (side pockets and organisation panels can widen more than the frame alone).
- Check depth at the thickest packed point (this is the common failure spot—especially with a padded laptop sleeve or bulky packing).
- Measure with straps positioned like you’d travel (shoulder straps tucked or flattened against the bag; don’t leave them flared outward).
- If the backpack has an expander, test both modes (many bags have a “normal” size that fits, but the expander turns it into a sizer problem).
- Compress lightly before measuring (if the bag uses compression straps, cinch them as you would at the gate; don’t measure an overfull bag you wouldn’t be able to compress).
- Subtract your tolerance for squeezing (if the bag is very close to the airline limit, assume it can fail when airline staff pack the bag into the frame more aggressively).
Volume vs Dimensions: Reading Backpack Specs Without Getting Tricked
Backpacks market capacity in litres, but sizer performance comes down to external dimensions and how much of that capacity sits “outward” instead of “stays within the frame.”
Understand what litres usually mean
A listed litre figure is calculated from internal volume—main compartment plus pockets and sometimes compartments like a laptop sleeve. Two backpacks can both be 35 litres, yet one can sit slimmer because its design folds around your back while the other pushes bulk outward.
Look for the spec details that predict sizer success
When product pages include dimensions, prioritise those. When they only include litres, treat the backpack as a higher risk purchase for strict airlines.
Also look for design cues that affect depth and width:
- Laptop sleeve location and padding: a thick, rigid sleeve can create a depth “step.”
- Side pocket expansion: mesh pockets can look flat empty but bulge when holding bottles or a small rain jacket.
- Front-panel organisation: rigid organisers and external panels can prevent the bag from flattening to fit.
- Stiff frames and tensioners: a structured back panel often resists compression, which makes “close but no cigar” more likely.
Choose dimensions over “expandable” marketing
If you’re aiming for carry-on only, an expander isn’t automatically bad—but it should be a tool for flexibility, not a default mode. A good rule is to pack for the non-expanded state and let the expander be optional for emergencies.
Fit and Support: Straps and Hip Belt That Keep You Carrying On
Even if a backpack fits the sizer, it can still be a bad carry-on choice if it’s uncomfortable or unstable. Comfort affects how tight you pack, how you cinch compression straps, and whether you can keep the bag under control in crowded terminals.
Prioritise torso length and hip belt placement
A carry-on-only backpack must distribute weight to the hips. If the hip belt rides too high or too low, the shoulders do all the work—and you end up overstuffing to “make it worthwhile,” which increases bag bulge.
Look for:
- enough adjustment range in the harness and hip belt
- the hip belt sitting roughly at hip bone level when standing naturally
- shoulder straps that don’t pull upward when you tighten the hip belt
Use the sternum strap to reduce “side sway”
The sternum strap isn’t only for posture. When it’s set correctly, it stabilises the shoulder harness so side pockets don’t flop outward. That helps the backpack stay closer to the sizer shape when you’re in motion.
Test the packability with a realistic load
Before you commit, load the backpack with the kind of weight you’ll carry on the trip (not empty). Walk a corridor length, tighten the hip belt, and confirm:
- the bag feels anchored rather than floating
- the shoulder straps don’t dig after a few minutes
- the top and side handles don’t create awkward outward pressure when you grab and move
Loading Habits That Help Your Backpack Fit the Sizer
Backpacks can be “dimensionally” within limits and still fail because of how they’re packed. The goal is a compact, compressible shape with fewer protrusions.
Pack to reduce depth, not just increase space
Depth is usually the problem dimension. If the backpack is too deep, it won’t matter that the volume number looks good.
Build a shape that compresses
Use packing habits that keep hard items from pushing outward and keep the bag’s profile stable.
- Keep hard items flat and centred: books, electronics, or toiletries should sit against the back panel rather than spreading into side walls.
- Use packing cubes and keep one “soft boundary”: a thin garment layer between bulky items and the outer wall helps the bag compress without bulging.
- Fill corners to prevent collapse into random lumps: odd voids can make the bag expand irregularly when straps are tightened.
- Close compression straps before the gate moment: cinch them while you’re still standing at home or your hotel, not with everyone watching.
- Tuck and manage loose straps: strap ends and dangling attachments can add thickness and snag in sizers.
Avoid common carry-on-only packing traps
A few habits make backpacks look larger than they are:
- overfilling the main compartment until the zipper strains (you lose the bag’s natural compression)
- relying on a laptop sleeve as a “shelves forward” storage without accounting for thickness
- packing bottles or bulky items in expandable side pockets
Final Steps: Choose Your Backpack and Validate It at Home
Pick a backpack where the listed dimensions are comfortably under your airline’s allowance in the non-expanded mode, then do the sizer checks with the bag packed to your normal carry-on load. Fit it properly (hip belt first, then shoulder straps and sternum strap), and commit to compression before you ever reach the airport.
If you’re buying for a specific trip, treat the airline sizer as the final test: measure, pack, compress, and confirm your backpack closes smoothly without forcing shape changes.