

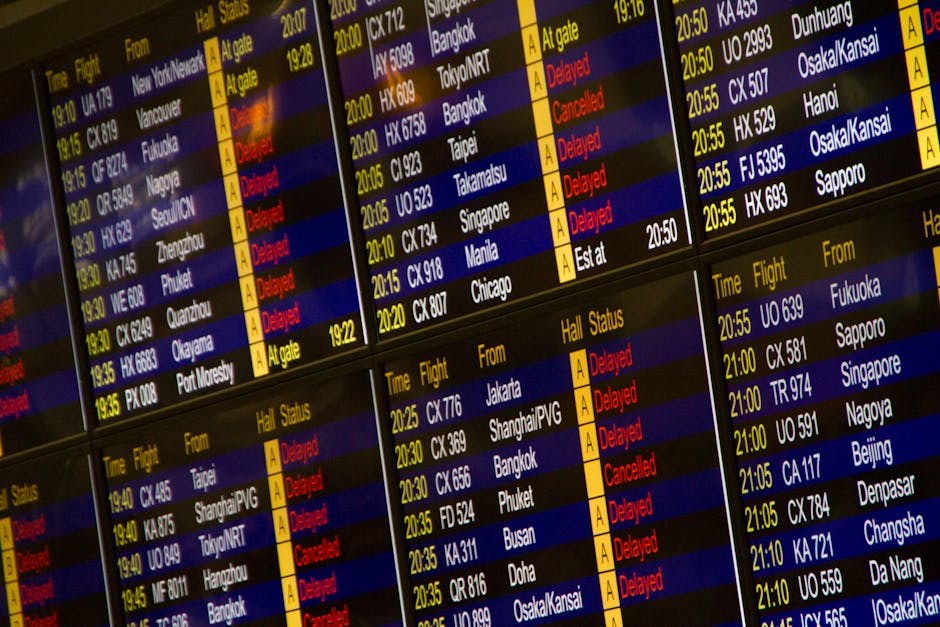
When an airline strike disrupts your plans, travel insurance can help with trip delay and related extra costs—but only if you can prove what happened and what you paid. Strikes are sometimes covered, sometimes excluded, and often rely on strict documentation.
Use this guide to build a claim that’s clear, consistent, and ready for an insurer to assess quickly.
1) Strike Delays: What Your Policy Usually Covers (and What It May Not)
Look for the delay trigger in your wording
Policies commonly treat a delay differently depending on whether it’s described as a “scheduled carrier” disruption and whether the insurer considers it “beyond your control.” When you read your cover documents, focus on the section that names the event (for example, delays/cancellation due to strike) and the definition of “delay.”
Pay attention to:
- whether the policy covers delays caused by airline strikes specifically, or only “events outside your control”
- the minimum delay duration (often a threshold like “after X hours”)
- the list of covered expenses (some cover only basic delay costs; others include missed connections)
Understand how insurers assess “reason for delay”
Even when a strike is covered, claims can be refused if the insurer can’t connect your specific flight delay to the strike. That means “it was chaotic” usually isn’t enough. You need proof that your route was impacted and that the disruption was tied to the strike.
Know the common exclusion patterns
Some policies exclude losses if the insurer decides the strike was already widely announced or unavoidable for your departure date. Others may exclude costs incurred after you chose to abandon the original plan without following the insurer’s guidance.
If your policy includes a clause about taking reasonable steps to reduce impact—such as contacting the airline, keeping receipts, and following rebooking options—that’s where your documentation matters most.
2) What to Document Immediately After the Airline Strike Disruption
Airline proof you should collect the same day
Start with documents that show your flight was delayed or cancelled and why. Keep copies, not just screenshots, and aim to get these while you’re still at the airport or in the airline’s disruption window.
Your strike-delay checklist:
- Airline delay/cancellation email or SMS
- Booking confirmation with ticket/PNR
- Boarding pass with original flight details
- Airline staff letter or email confirming the strike caused the disruption
- Disruption notice from airline app/website (screenshots)
- Proof of check-in at the airport (photo of kiosk receipt or app check-in screen)
- Evidence of when you arrived/queued (timestamped photo/video or statement)
- Any rebooking or alternative itinerary documents issued by the airline
Keep the itinerary trail intact
Insurers want to see the before-and-after. Your claim is stronger when your documents clearly link:
- the original departure date and flight number
- the delay length (or the cancellation and what replaced it)
- the schedule changes the airline offered (and what you accepted)
That means you should save your confirmation emails, any app itinerary updates, and any rebooking vouchers—even if you only used them briefly.
Record the timeline while it’s fresh
A delayed-trip claim is often decided on clarity: times, sequence, and causation. As soon as you can, write down the timeline in your notes (with local times and date). You’ll use this later when you complete the claim form and when you explain how the strike affected your plans.
If you spent hours waiting, make sure your evidence matches your timeline. Screenshots often show timestamps; check-in screens and boarding pass records help the dates add up.
3) Receipts and Evidence for Claiming Extra Costs
Accommodation and meal receipts
Many trip-delay policies cover “reasonable” extra costs, but they’ll usually require itemised proof. For any nights you need to stay elsewhere, keep receipts that show the essentials.
Use this extra-cost checklist:
- Hotel receipt showing dates, room rate, and guest name
- Meal receipts with dates and restaurant name
- Ground transport receipts (taxis, rail tickets, airport shuttles)
- Phone/internet charges used to coordinate the trip (if included in your policy)
- Pre-paid tours/experiences that were missed, plus cancellation confirmation
- Rerouted flight/train booking receipts or seat-change fees
- Documentation of any non-refundable deposits you lost
Avoid sending a claim with only one or two receipts. Insurers typically compare your spend to the length of disruption and whether the costs look necessary and proportionate.
Connect costs to the delay, not “convenience”
Even if a delay stretches into the next day, costs must still look linked to the disruption. A hotel night far from the airport might be questioned unless you can explain why it was necessary (for example, the airline placed passengers there or no reasonable transport options were available).
When a cost is borderline, include context. A short note that explains why it was required can help more than adding extra receipts.
Missing or partial receipts: what to do
If you can’t get a proper receipt, don’t guess amounts. Instead, look for alternative proof such as payment confirmations or bank/credit-card statements that show date and merchant. Keep any documentation you have and be ready to explain what you couldn’t obtain.
If the insurer offers a “best effort” approach for missing documents, follow it—but don’t assume it applies everywhere.
4) How to Build a Claim Packet That Insurers Can Process Quickly
Write a clean, one-page timeline
A strong claim packet helps an assessor understand the story in minutes. Your goal is to remove uncertainty.
Include a concise timeline that covers:
- original departure time and planned itinerary
- when you received the strike disruption notice
- the length of delay and any overnight impact
- what rebooking options were provided and what you used
Keep your timeline consistent with your receipts (especially hotel dates, flight numbers, and any transport booking references).
Organise documents so nothing is lost
Upload files with clear names and keep everything together. If an insurer asks for “proof of delay,” you don’t want to search through unrelated photos.
Your claim organisation checklist:
- One-page timeline (original departure, strike notice time, hours spent delayed, when you moved hotels)
- Copies of all documents in one folder, with clear filenames
- A completed claim form with exact amounts and currency
If you’re claiming in multiple currencies, keep the conversion basis you used (for example, the card statement currency or a conversion rate you can reference). Don’t mix estimates and exact amounts in the same claim.
Double-check the “reasonable costs” requirement
Before you submit, scan your receipts and confirm they match what your policy allows. Some policies have limits (daily caps, accommodation rules, or exclusions for certain types of expenses). Even without exact limits, your spending should look practical for the delay.
If your expenses are unusually high for the situation, include a short explanation and the supporting evidence.
5) Final Steps: File Faster, Follow Up, and Protect Your Evidence
Submit your claim as soon as you have a complete package. Keep original emails, boarding passes, and receipts accessible (and don’t rely only on screenshots that might disappear after app updates).
If you’re asked for additional documents, respond quickly and in the format the insurer requests. Keep a record of what you sent and when, so you can track progress without repeating work.